
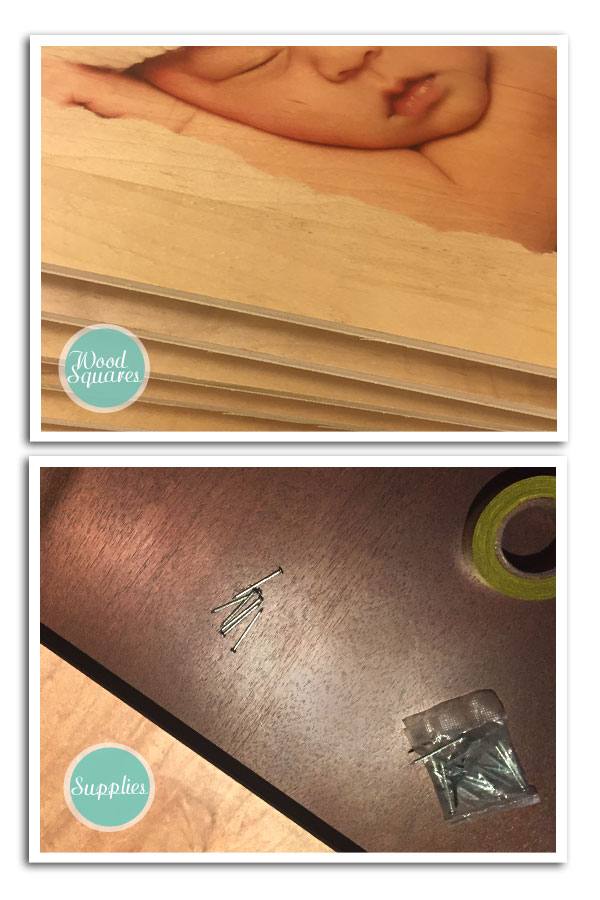
Supplies:
- 9 square images – we used the new 12×12 wood art we offer.
- Clean Remove Ruler tape. We bought this one but I don’t recommend it because it had a 1/4 in between each 12 inch segment – annoying. $6.95
- A pen or marker
- Hammer
- Nails
Instructions:
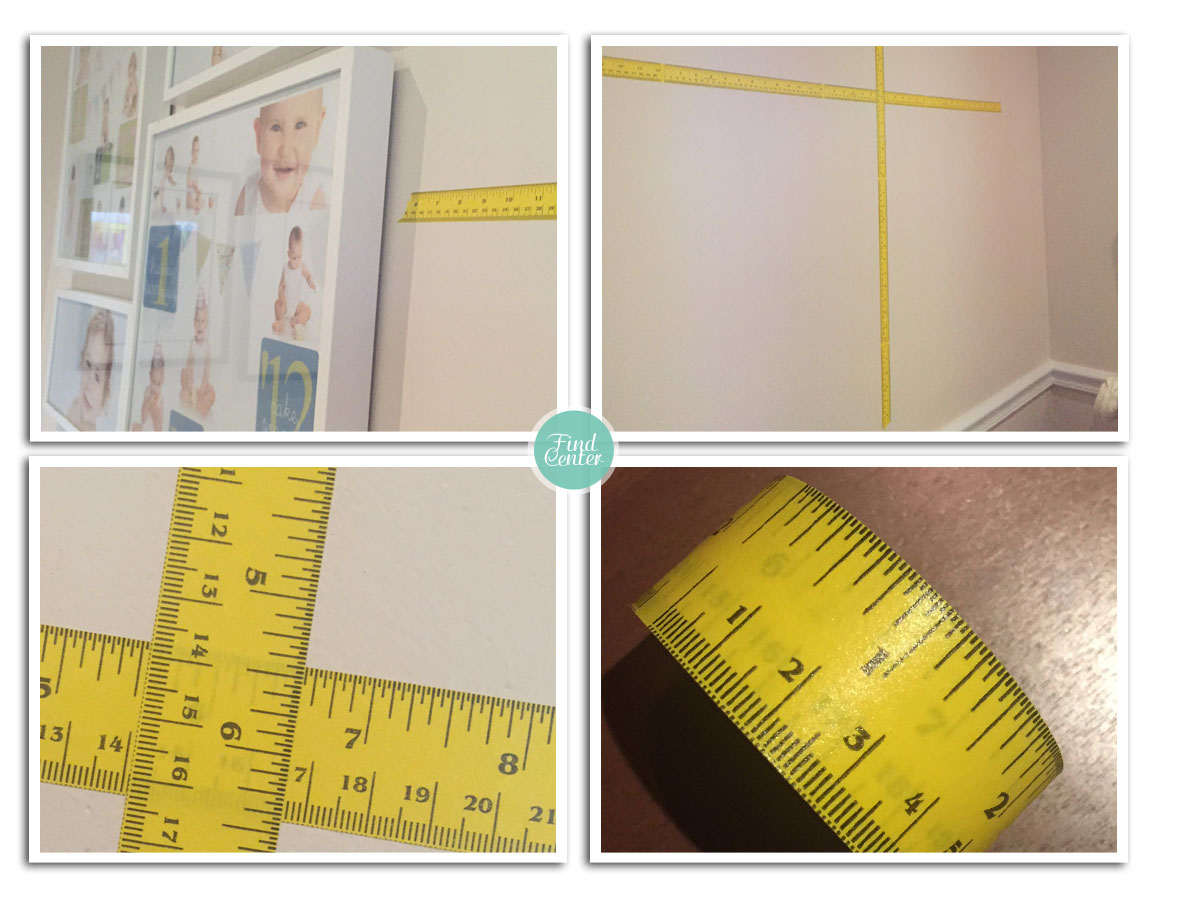
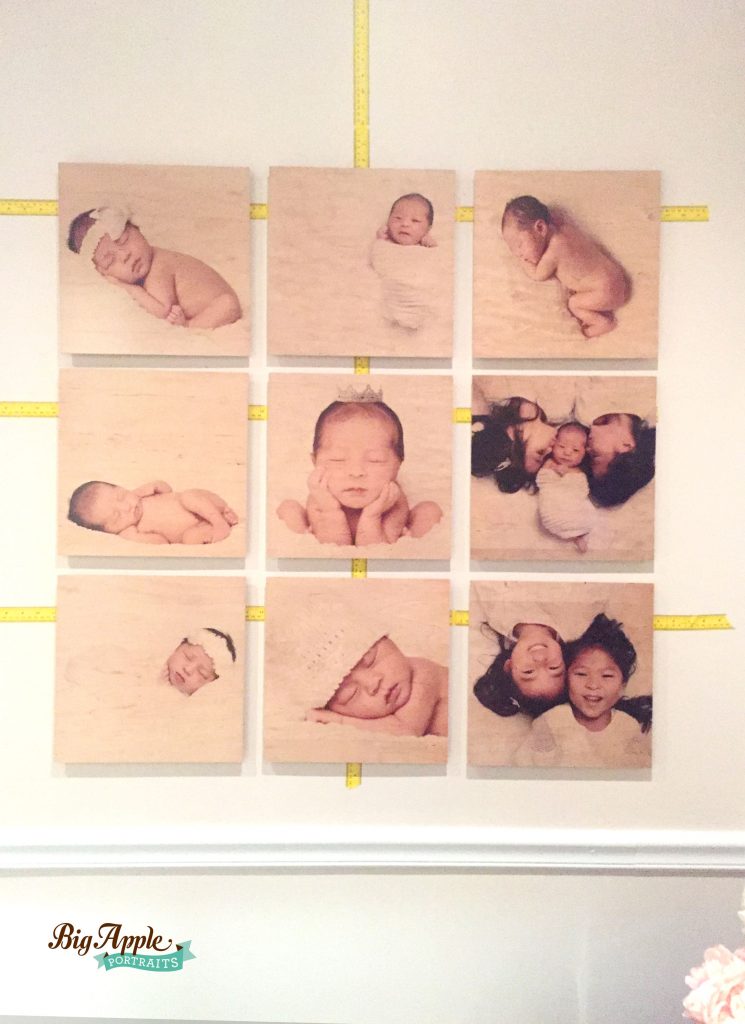
Step 1:Find your center.
Since our grid wall was 3×3 we first needed to find the center. There was already another sample set on our ordering room wall so we wanted to make sure the center lined up with that grouping. We first put down some of the ruler tape on the vertical. Since our wood art was 12×12 and the ruler tape had 12 inch sections we just found the center of the center frame and added a horizontal piece of tape down the middle.
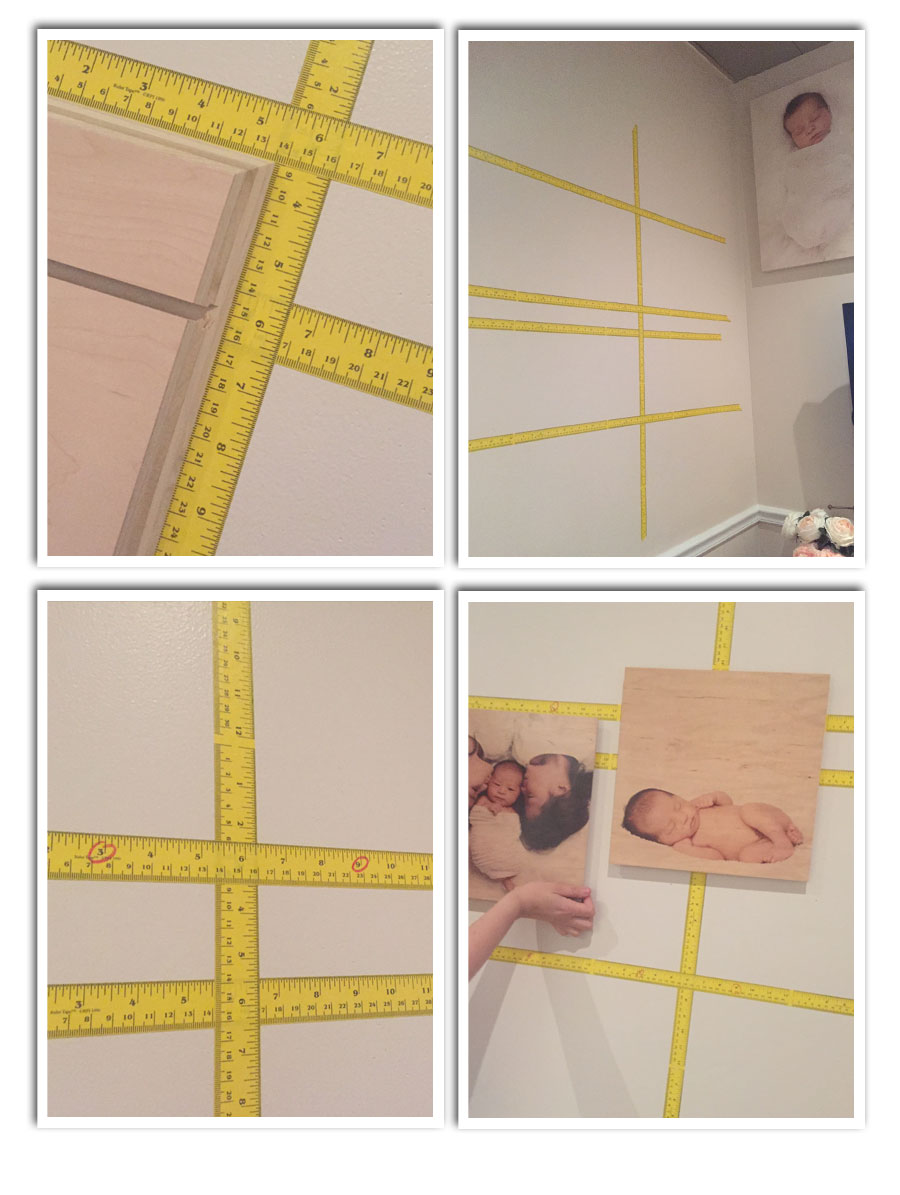
Step 2: Create the tape grid
This is where mistakes are made. The center is mapped out but that is not where the nails need to go. We actually had an oops moment a few times when laying out the grid. We wanted the center of the middle wood piece to be centered with the grouping next to it. But cutout on the back of the frame is not in the center. It is 2 3/4 inches above the center. As you will be able to see, in the final result we even got this wrong. But we were so close and the grid was super easy to create.
The grid should be created based on where the nails go not from center of each image. Add another piece of tape for nail line and build from there. We used 1 1/4 inch spacing since the ruler tape had the 1/4 inch oddity between each 12 inch section. If your tape does not have the 1/4 inch it would be much easier.
- Lay the center horizontal piece of tape trying to stay level as you place it down
- Aligned with center of the horizontal piece of tape, lay a vertical piece creating a cross
- Find the nail line on the back of your frames or artwork, add another piece of tape that far above your center horizontal tape. For example, our nail line was 2 3/4 from center. We placed another piece of tape 2 3/4 inches from center. You can actually see we did this wrong since we measured from the top not the center to find our nail line. We had to go back and fix it.
- Add the upper piece of horizontal tape. Our squares were 12 inches. 12 inches + 1 1/4 in space. Try and keep the tape level.
- Add the lower piece of horizontal tape just as you did the upper line.
- To make things so much faster, take a marker and circle where you want the nails to go. In our case we needed two nails behind each wood block. That way you only have to count once!
Once the grid is up the hardest part is complete. Make sure to put up the frames against the grid as you go. This will mean, you find mistakes quickly like we did. We were not at center, oops, just peel back the tape and fix it.
Step 3: Add the nails
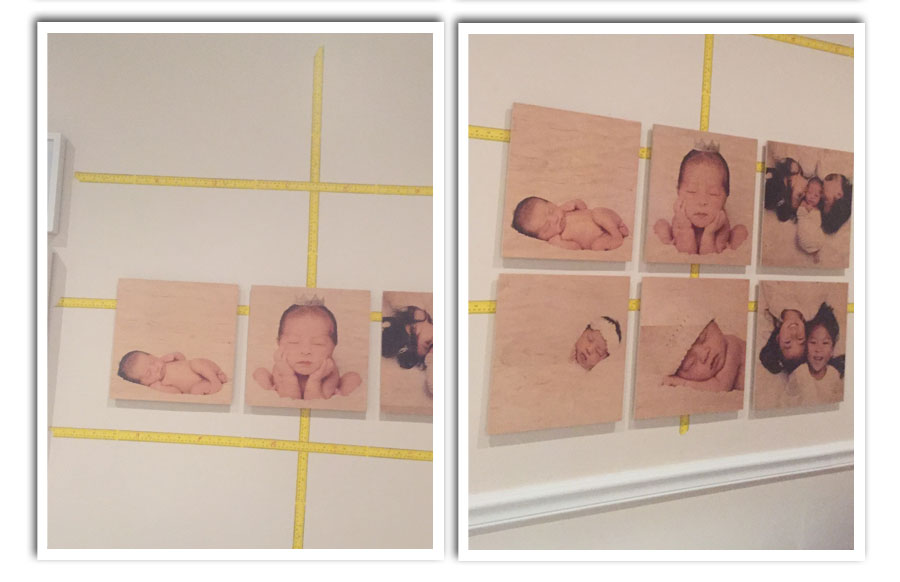
Congrats, you have a gallery wall grid that takes so little time and effort and looks amazing.


